Easy Collage Ideas for Junk Journal Pages
- Colleen McCarthy

- Oct 29
- 3 min read
Updated: 2 days ago
If you've got a pile of cute stuff for your junk journal, collage can be a fun and easy way to turn it into a page. Collage is a forgiving style and you don't need a lot of equipment. Just some scissors and glue is enough to get started.
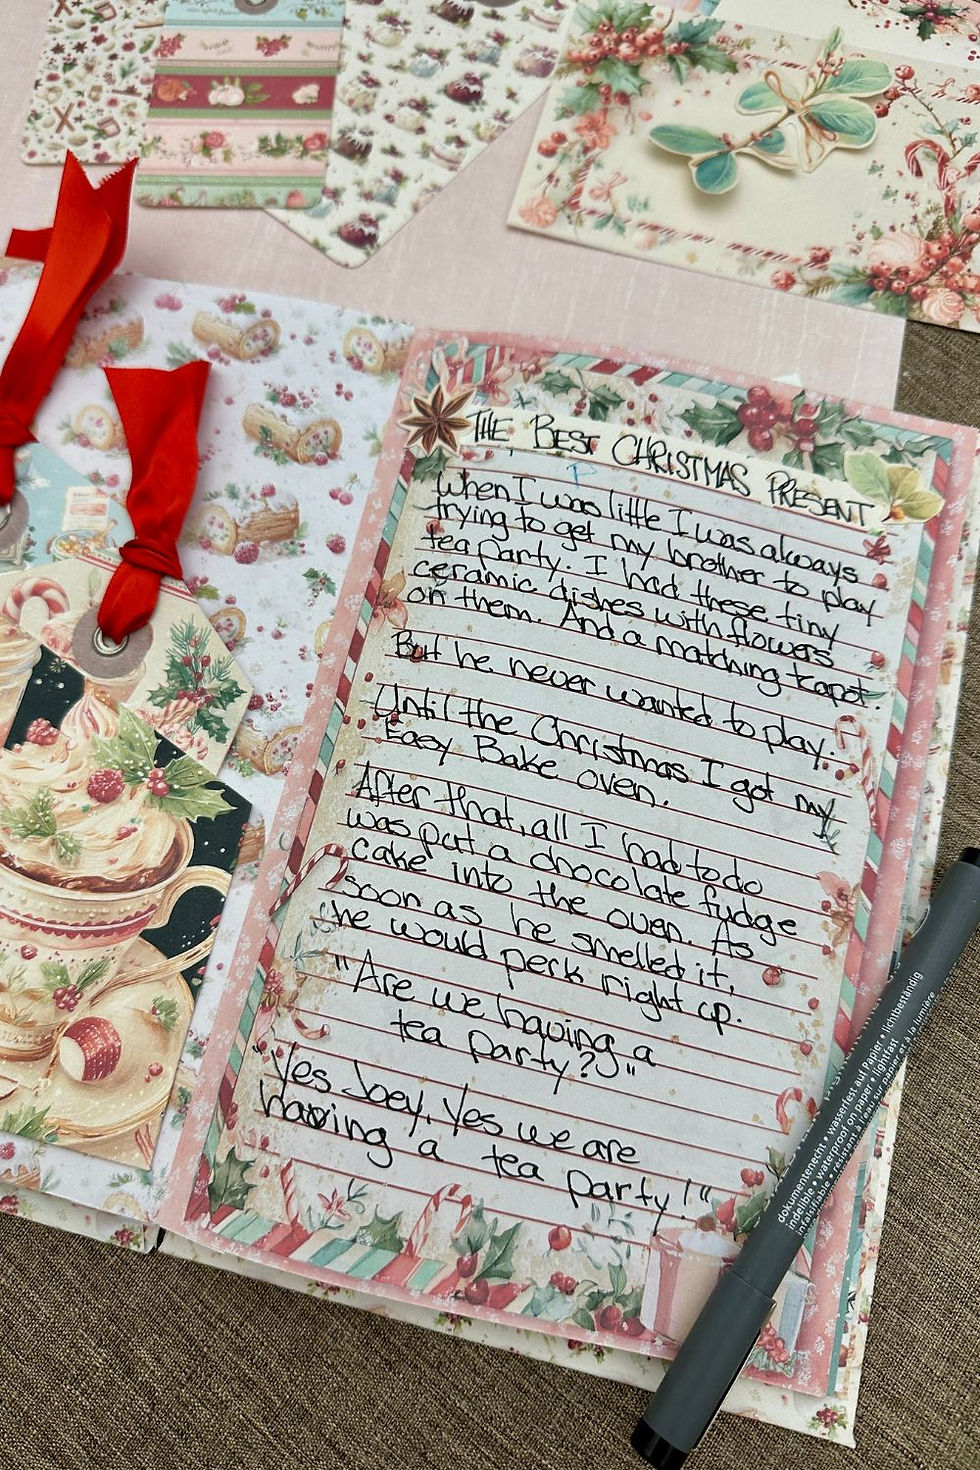
Collaging in your junk journal is a fun way to tell a story on the page. Collage isn't about making everything perfect. It’s about layering little pieces of your world in a way that feels good to you.
This article may contain affiliate links. This means that I might earn a small commission if you make a purchase, at no extra cost to you.

What to Use for Making Collages
You don’t need a lot of supplies to begin collaging. You can start with just your journal and some scissors and glue. If you'd like to choose a few more tools, here are some that are useful:
Glue stick, double-sided tape, or matte gel medium for sticking pieces down.
Scissors or a craft knife for cutting and trimming.
Bone folder or ruler to smooth out layers and press everything in place.
Brushes or glue spreaders for applying adhesive evenly.
A journal page, cardstock, or vintage book paper to build on.
Optional tools like stamps, ink pads, or washi tape can add a little extra flair, but they’re not required to get started.
Types of Materials and Ephemera
A good collage usually has a mix of textures, colors, and shapes. You can use almost any ephemera or scraps you've collected. Here are some ideas to get you started:
Printed scrapbook paper and patterned paper.
Vintage book pages or sheet music.
Tickets, labels, tags, and postage stamps.
Printed pages of fussy cuts or stickers.
Magazine clippings and photos.
Vellum, tracing paper, or tissue paper for soft layers.
Lace, fabric scraps, or ribbons for texture.
Old envelopes, receipts, or keepsakes.
Mixing different textures helps the page feel layered and full. Don’t be afraid to combine old and new pieces. That contrast can make your collage more interesting.

Supply List
For this cute fall themed page, I used a printable kit from my shop, plus a freebie and some basic supplies:
Printable Pumpkin Spice photo sheet from my free members area.
Ranger Archival Ink in Sepia.
Distress Ink in Tattered Rose.
Ranger ink dabber.
Recollections pink cardstock.
Large size sketchbook from Moleskine.
Principles of Composition
A little structure can make your collage feel more balanced and natural. These small choices can help your collage feel more intentional. Here are a few simple ideas to keep in mind:
Layer pieces to create depth and interest.
Group elements in clusters instead of spreading them out evenly.
Leave some white space so the page doesn’t feel crowded.
Repeat colors or shapes to make the layout feel connected.
Place the largest or boldest piece first and build the rest around it.
Think about where your eye travels and make sure the page has a clear focal point.
Arranging Your Page
Before you glue anything down, play with your layout. Move things around until the page feels right. Start with the background, then add your next layers, finishing with small accents and details. Working from back to front helps everything stay clean and tidy.

Adding Personal Touches
This is where your collage starts to feel like your story. Add a handwritten note, a date, or a little memory. Use your favorite colors or include tiny keepsakes like a receipt, a photo, or a pressed flower. These small details give the page meaning and make it yours.
Finishing Details
When everything’s glued down, try adding a few final touches. Outline edges with a pen, stamp over layers, or ink the corners for definition. Add stickers, buttons, or bits of thread to bring it all together. Sometimes it’s those little details that make the page feel complete.
Free Printable Ephemera
Do you need some ephemera for making collages? Join my free members area to find freebies you can download and print. There's no obligation - the members area is a simple space I created as a place to share all my freebies. Once you join you can download as many as you like:


Comments