
Free Printable: Make a No-Sew Christmas Junk Journal (Vintage Baking Theme)
- Colleen McCarthy

- Dec 28, 2025
- 4 min read
Updated: Jan 30
The days between Christmas and New Year’s are my favorite time to craft. The rush is over, the house is cozy, and I finally have time to sit down with a hot cocoa and do something creative.
It's also the time when I have a pile of beautiful Christmas cards, gift tags, and wrapping paper scraps that I just can’t throw away.
If you're looking for a place to keep your holiday memories, without the stress of complicated bookbinding, you're going to love today’s project!
This article contains affiliate links. This means that I might earn a small commission if you make a purchase, at no extra cost to you.
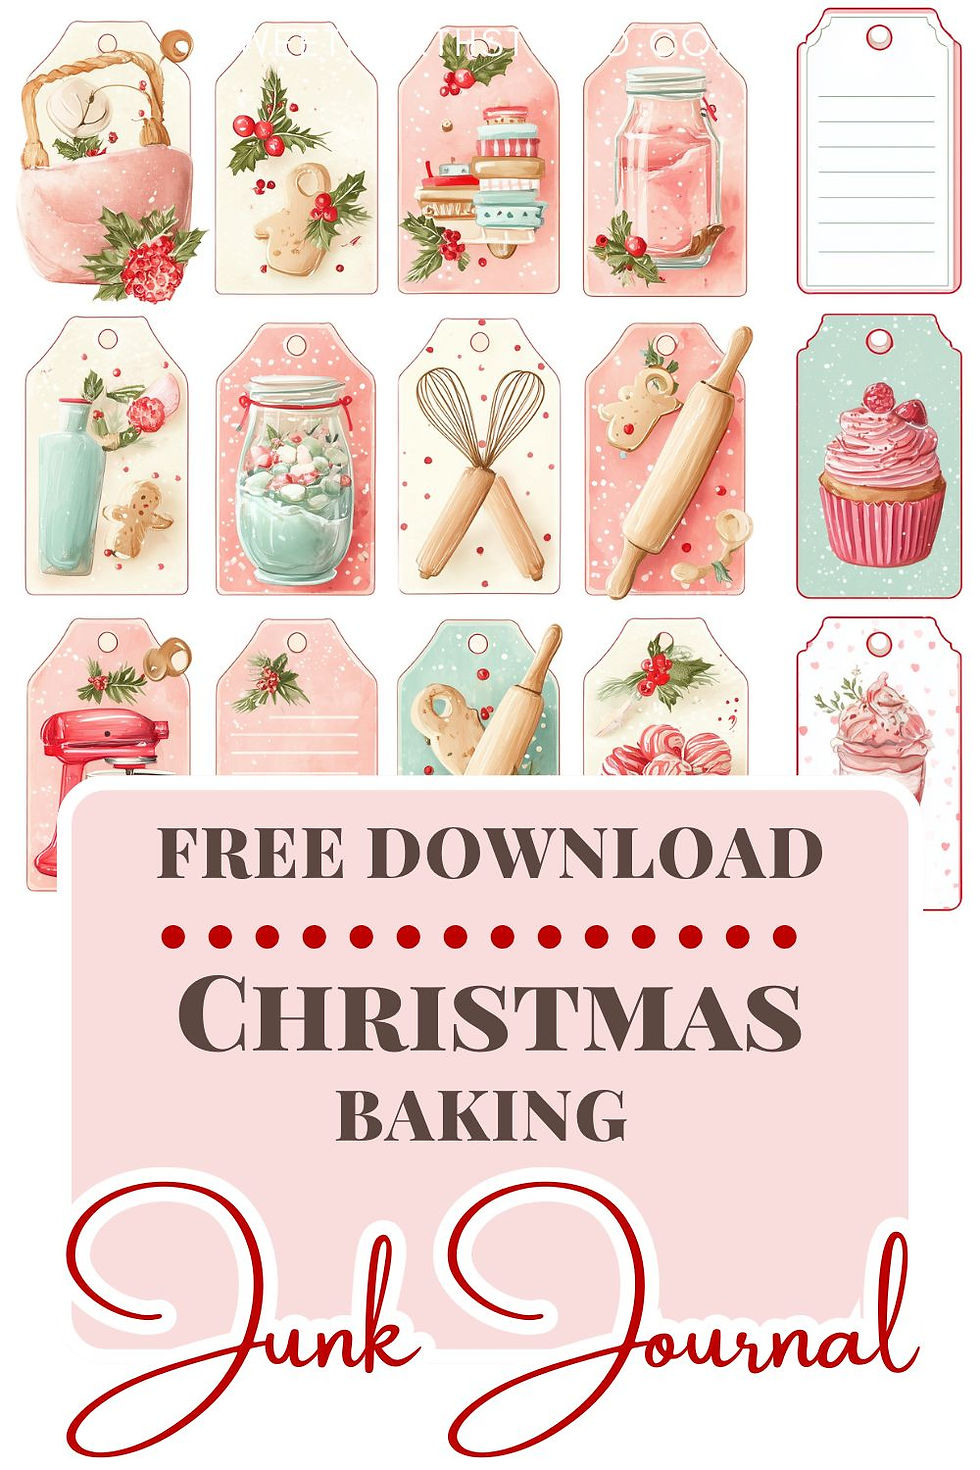
I’m sharing a complete tutorial on how to make a No-Sew Christmas Junk Journal using a recycled cereal box and my free Vintage Baking"printable kit.
Watch the Full Tutorial
In this video, I’ll walk you through the entire process, from printing your papers to using a hinge binding technique.
The No-Sew Method
I originally designed this printable kit as a standard signature set for sewing. But to be honest, sometimes you just want a project that's fast, easy, and requires zero needles.
Instead of sewing, we're using a hinge method. We use the belly bands from the kit as little paper hinges to glue the pages together. It creates a lay-flat book that's incredibly sturdy and perfect for beginners.
Step 1: Preparing Your Kit
The free kit (which you can download below!) comes with over 20 journal pages.
For the Pages:
I printed these on 28lb Premium Paper. It’s slightly thicker than standard copy paper, which prevents your ink from bleeding through, but it’s thin enough to turn pages easily.
For the Cover & Ephemera:
I printed the covers, tags, and pockets on 65lb Cardstock for stability.
Tip:
To get that professional double-sided look, I printed the journal pages, flipped them over, and printed the patterned papers on the back.
Step 2: The Cereal Box Cover
You don’t need expensive book board for this. I used an empty cereal box cut to 5 ¾” x 8 ¾”.
Simply glue your printed cover cardstock onto the cereal box using a glue runner (for strength) and a glue stick (to catch the edges). This gives you a lovely hardcover journal that feels substantial in your hands.
Step 3: The Hinge Binding
This is the magic part!
Fold all your pages and hinges in half.
Glue the back of a hinge strip.
Attach it to the folded edge of a page.
Attach the next page to the other side of that hinge.
Repeat this until you have a block of pages.
Then glue the whole block into your cover. It’s that simple!
Step 4: Decorating (The Fun Part)
Once the structure is built, you can go wild with the Junk part of Junk Journaling.
In my journal, I used the folding pockets and tags included in the kit. I also added some silver washi tape to edge my index cards. Then I made a collage page using red ribbon and postage stamps.
Don't miss my mistake page: I tried to write a story with a green gel pen that exploded and smeared everywhere! But that’s the beauty of junk journaling. I just glued a piece of scrap paper over it and kept going.
Remember, there are no mistakes in this hobby, only opportunities for more layers!
✂️ Supplies & Equipment Used
Want to know exactly what I used to build this book? Here is my list of favorites:
Paper & Printing:
HP Brand 28lb Premium Paper: My go-to for high-quality journal pages.
Neenah Brand 65lb Cardstock: Essential for covers and sturdy tags.
Gray Cardstock: I used this as backgrounds and mats.
Tools:
Fiskars Paper Trimmer: This makes trimming the pages so much easier.
Scoring Board: Helps make straight, clean folds, especially on cardstock.
Bone Folder: Use it to make folds and smooth out wrinkles.
Corner Rounder: Optional, but gives tags and cards a finished look.
Hole Punch/Eyelet Tool: For inserting ribbons, brads, or eyelets.
Alphabet Stamps: This typewriter style is great for titles.
Adhesives & Ink:
Tape Runner: For quick and easy gluing.
Glue Stick: To keep the edges stuck down!
Distress Ink in Worn Lipstick: I inked some edges and stamped a title with this bright pink ink.
Ink Dabber: Makes it easy to apply ink exactly where you want it.
MT Washi tape: I used this silver striped one for a Christmas vibe.
Download the Free Kit
Ready to start your own journal? This kit is available as a free download in the members area. Log in here (If you're not a member yet, you can join for free!):
I hope you enjoy making this project as much as I did!
Pin this article to save it for later:


Comments