

What is a Cluster in Junk Journaling? (+ Free Printable Kit)
- Colleen McCarthy

- 5 days ago
- 9 min read
When you first start junk journaling, you might feel like you need an entire glossary! The first word I heard that confused me was clusters. Clusters? Mm, clusters of what, exactly?
It turns out clusters are just that - clusters of paper that you turn into a mini collage! It's a small grouping of scraps and ephemera glued together to make a stand alone embellishment.
A cluster is the perfect touch to finish the cover or a page in your junk journal. They're also a great way to use up all those left over scraps. If you have a basket full of pretty little pieces, clusters are the perfect thing to start making.

This article may contain affiliate links. This means that I might earn a small commission if you make a purchase, at no extra cost to you.
How to Make Your First Batch of Clusters
There aren't any hard and fast rules when you're making clusters. If it looks good to you, glue it down! But if you find you're struggling with the composition, it might help if you think in terms of layers.
Start by choosing some pieces in different shapes and sizes. Then arrange them into three layers:
The base, or bottom layer that's sturdy enough to hold your collage.
Embellishments in the middle layer, to create texture and interest.
Plus a tiny detail on the top layer, to give your cluster a finishing touch.
Ideas for Junk Journal Cluster Bases
When you're looking for a base, start by looking around your house. You'll be astonished by how many pieces of "junk" will actually look fantastic once you start crafting with it:
From the Recycle Bin (Upcycling)
Clothing Tags: Don't cut the strings off! They add great texture.
Cereal Box Cardboard: Cut into small rectangles or squares.
Paint Chips: The perfect sturdy base, plus they add instant color.
Tea Bag Wrappers: Great for micro clusters.
Corrugated Cardboard: Peel off the top layer to reveal the ridges.
Junk Mail Envelopes: Specifically the security patterns or the plastic windows.
Toilet Paper Rolls: Flattened and cut into shapes.
Paper Grocery Bags: Crinkled up for texture.
Greeting Card Backs: Use the blank half of old birthday cards.
Office & Stationery Supplies
Rolodex Cards: The holes at the bottom look cool peeking out.
Guest Checks: A junk journal staple!
Library Cards: Vintage or printable versions.
Manila Folders: Cut up old file folders for a nice, neutral base.
Index Cards: Coffee dye them first for a vintage look.
Shipping Tags: Any size, from tiny merchandise tags to large luggage tags.
Time Cards: The grid adds instant structure.
Envelope Flaps: Cut the triangle flap off an envelope.
Coin Wrappers: Flattened out.
Vintage & Game Pieces
Playing Cards: One of the best bases because they are so stiff.
Bingo Cards: Cut them up to use specific numbers.
Flashcards: Children's math or alphabet cards.
Monopoly Money: Or money from other board games.
Puzzle Pieces: Use the back (grey side) or the image side.
Slide Mounts: The plastic or cardboard frames from old photo slides.
Ticket Stubs: Movie tickets, raffle tickets, or carnival tickets.
Postcards: Cut into smaller sections.
Paper Scraps
Book Pages: Fold them into quarters to make them sturdy enough for a base.
Sheet Music: The notes make a beautiful background.
Wallpaper Samples: Usually very thick and textured.
Scrapbook Paper Off-cuts: Those weird 2-inch strips you saved? Use them now!
Maps: Glue them to cardstock first for stability.
Paper Doilies: Folded in half or used flat.
Textiles (For Soft Clusters)
Denim Scraps: From old jeans (pockets or belt loops work great).
Stiff Canvas: Or drop cloth material.
Wide Ribbon: A 2-inch wide burlap or satin ribbon makes a unique vertical base.
Pro Tip for Flimsy Bases: If you want to use a thin book page or napkin as a base, glue it to a piece of cardstock or file folder first to give your cluster some strength.

Adding Textures With Embellishments
The second layer is all about texture and contrast. You want things that feel different than the base to create that yummy, layered look:
Fabrics, Fibers & Textiles (The Best for Texture)
Cheesecloth: Tea-dyed or plain white. The king of cluster textures!
Lace Scraps: Even the tiniest snipped end of a lace strip works here.
Fabric Selvages: The fuzzy edge cut off the side of fabric bolts.
Messy Thread Bunches: Take a wad of sewing thread, tangle it up, and glue it down.
Burlap or Hessian: Pull a few strands loose for a frayed look.
Sari Silk Ribbon: Adds beautiful color and shine.
Rick Rack: Vintage zig-zag trim.
Tulle: Adds texture without covering up the layer underneath.
Embroidery Floss: Loop it back and forth a few times.
Yarn Scraps: Tie a small knot or bow.
Muslin or Calico: Rip it instead of cutting for frayed edges.
Velvet Ribbon: For a luxurious touch.
Seam Binding: Crinkle it up with water and let it dry first.
Paper Scraps (But Make them Interesting!)
Vellum: The transparency looks amazing over a base.
Tissue Paper: Crinkle it up into a ball, then flatten it out for texture.
Crepe Paper: Ruffled or folded.
Sewing Pattern Tissue: That unmistakable beige, crinkly paper.
Napkins: Peel the back layers off and use the printed top layer.
Punched Shapes: Use a circle or scallop punch on scrap paper.
Negative Space Scraps: The strip of paper left over after you use a hole punch.
Foil Candy Wrappers: For a bit of shine.
Glassine Bags: Torn into strips.
Washi Tape: Layer two or three strips in a crisscross pattern.
Household & Upcycled Textures
Produce Netting: The plastic mesh bags that lemons or onions come in.
Tea Bags: Empty the tea out and let them dry. The mesh bags will be stained and translucent.
Drywall Tape: It’s a sticky mesh grid that looks incredibly cool in clusters.
Coffee Filters: Stained and torn.
Price Tags: The string adds a nice dangly element.
Ephemera Bits
Paper Doilies: You don't need the whole thing—just tear off a lacy edge.
Frames: Tiny die-cut frames or slide mounts.
Barcodes: Cut from packaging.
Ticket Stubs: Layer a smaller ticket over a larger base.
Postage Cancellation Marks: Cut from the corner of an envelope.
Bingo Numbers: Cut out just one single number square.
Pro Tip for the Middle Layer: Offset is key! Don’t glue this layer directly in the center of your base. Glue it slightly to the left, right, or tilted at an angle. It makes the cluster look more dynamic.

Add A Tiny Detail to Finish Your Cluster
This is the cherry on top. The focal point that draws the eye and finishes your composition:
Haberdashery & Sewing Bits (For Dimension)
Buttons: Vintage mother-of-pearl, wooden, or mismatched colorful ones.
Safety Pins: Especially the tiny "bulb" or pear-shaped pins (hang a bead on it for even more pizzazz).
Snaps: The metal halves of clothing snaps.
Hook & Eyes: The little metal fasteners from bras or dresses.
Clothing Size Tags: Those tiny tags that say "S" or "XL."
Straight Pins: Poke a rusty sewing pin through the fabric layer.
Buckles: Tiny doll-sized buckles.
Sequins: Vintage dull metallic ones look best (less disco, more antique).
Nature & Organic
Pressed Flowers: Tiny dried violets or buttercups.
Dried Leaves: A single clover leaf.
Feathers: A small tip of a guinea hen feather.
Flat Back Pearls: Or half-pearl gems.
Mica Flakes: For a bit of natural shine.
Office & Hardware
Brads: Gold, copper, or colorful decorative brads.
Eyelets: Set a tiny eyelet through the top to make it a tag.
Staples: Use a small stapler for a messy industrial look.
Paper Clips: The really tiny gold or colorful ones.
Wax Seals: A small blob of wax stamped with a symbol.
Paper Focal Points
Postage Stamps: The ultimate junk journal focal point!
Fussy Cut Images: Tiny butterflies, mushrooms, or birds cut from book pages.
Punch Outs: Use a standard hole punch to punch a heart, star, or circle from glitter paper.
Die Cuts: Small flowers or gears.
Stickers: Clear acetate stickers look like they are painted on.
Photo Cutouts: A specific face or person cut out of an old black and white photo.
Words & Numbers (To Add Meaning)
Label Maker Tape: The old-school embossed Dymo tape (black or red).
Typed Words: Type a word on a typewriter (or use a typewriter font), cut it out in a thin strip.
Book Words: Scan an old book page for a word like dream, create, or remember and snip it out.
Number Stickers: Planner stickers work great here.
Price Stickers: Those bright orange or neon garage sale stickers.
Bingo Numbers: Cut out the individual number circles.
Rubber Stamps: Stamp a tiny icon (like a bee or a camera) directly onto the cluster.
Pro Tip for the Top Layer: If your tiny detail isn't popping enough, put something behind it! A tiny tangle of thread or a scrap of black cardstock placed under a button or word strip acts like a frame and helps it stand out from the background.
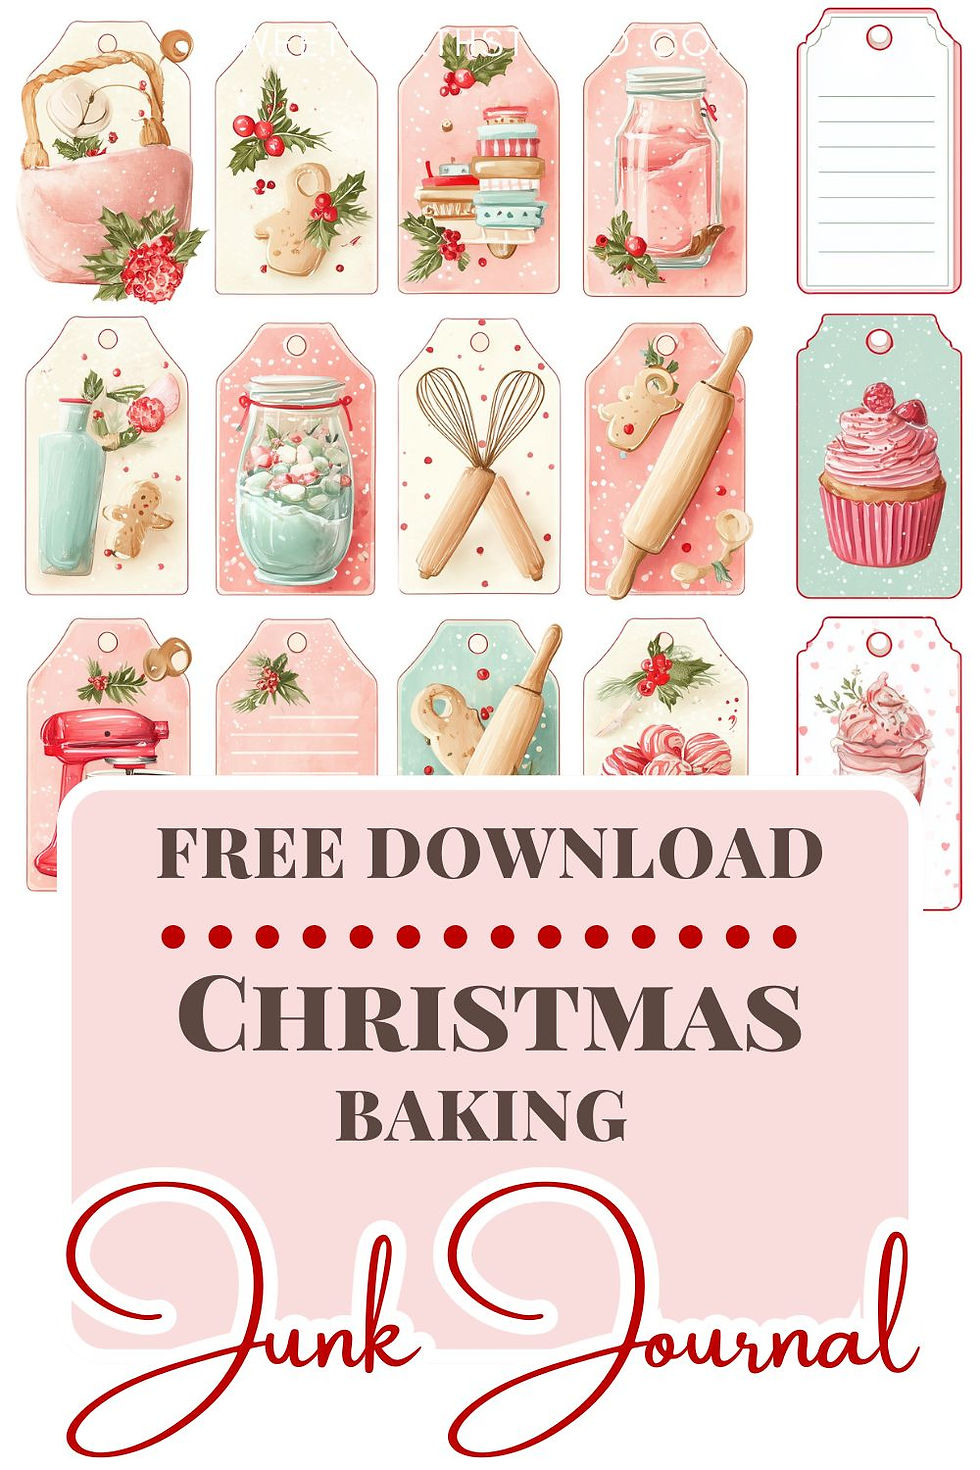
Get the Free Printable Cluster Kit
To make it super easy for you to start, I designed a free kit for you to download and print! It includes 4 pages of assorted ephemera, including faux vintage playing cards, tickets, lace strips, and buttons.
How to Download: This kit is available exclusively in my Free Members Area. If you are already a member, you can log in and download it right now. If not, click this link to sign up for free.
Video Tutorial
Watch how I use the freebie to make two batches of clusters in my newest YouTube video:
My Supply List
Here's all the tools and supplies that I used to make clusters in the video:
Free printable kit from the Membership Area.
Distress ink in the color Worn Lipstick.
Distress ink in the color Vintage Photo.
Distress ink in the color Antique Linen.
Strip of brown patterned fabric.
Used In My Journals:
Moleskine Sketch Book (Large Size).
Handmade journal from my Flower Farm Junk Journal Kit.
Rubber stamp with handwriting.
How to Use Your Finished Clusters
Now that you've got batch of beautiful clusters, there are so many ways you can use them!
Functional Page Elements (Tucks & Pockets)
Corner Tuck Spot: Glue the cluster to the bottom corner of a page (only gluing the outer two edges) to hold a tag.
Belly Band Stopper: Glue a cluster onto a vertical belly band. It acts as a stopper so the items tucked behind don't slide down.
Pocket Decoration: Dress up a plain library pocket or envelope by gluing a cluster front and center.
Floating Pocket: Glue the cluster onto a piece of cardstock, glue three sides down to your page, and use the whole thing as a pocket.
Tuck Spot Helper: If you have a side tuck that is too loose, glue a chunky cluster partially over the opening to help hold items in place.
Decorating Other Ephemera
Tag Toppers: Take a plain manila shipping tag and glue a cluster to the center for an instant vintage look.
Journal Card Focal Point: Slap a cluster onto a piece of tea-dyed cardstock to turn it into a journaling card.
Envelope Seals: Use a flat cluster to seal the flap of an envelope shut (or use a velcro dot under it for a re-openable seal).
Greeting Cards: Glue a cluster to the front of a folded piece of cardstock for a handmade note card.
Notebook Covers: Use a large, chunky cluster as the main title decoration for a mini-journal or traveler's notebook insert.
Structural & Interactive Elements
Page Tabs: Glue a cluster to the outer edge of a page so that half of it hangs off the edge. It acts as a decorative tab to help you turn the page.
Altered Paperclips: Glue a small cluster onto a gold paperclip (sandwich the clip between the cluster and a backing paper) to make a removable page marker.
Flip-Outs: Attach a cluster to the edge of a page using a strip of washi tape or fabric so it flips open to reveal secret writing space underneath.
Fabric Swatch Headers: Staple a cluster to the top of a stack of fabric or lace samples.
Spine Charms: Punch a hole in a sturdy cluster, add an eyelet, and dangle it from the spine of your journal on a chain.
Happy Mail & Gifting
Bag Toppers: Fold a piece of paper over the top of a clear cellophane bag filled with goodies. Glue a cluster to the paper header.
Gift Wrapping: Use a cluster instead of a bow on a wrapped gift.
Happy Mail Extras: Just toss a handful of loose clusters into an envelope for your pen pal to use in their journal.
Pro Tip: Remember the Flat vs. Chunky rule
Use your flat paper clusters for things inside the book (tuck spots, page tabs) so your journal closes easily.
Use your chunky mixed media clusters for covers, bookmarks, or Happy Mail where the bulk doesn't matter.
Pin this article to save it for later:


Comments