
Junk Journaling 101: The Ultimate Glossary for Beginners
- Colleen McCarthy

- Dec 18, 2025
- 6 min read
Updated: 2 days ago
If you’ve just discovered the world of junk journaling - welcome! I know you’re excited and ready to start. Maybe you’ve got your scissors and glue, and you've pulled up a YouTube tutorial to help you get started making your first book.
But within the first two minutes, the crafter says something like:
"I’m going to sew this signature into the spine using a pamphlet stitch. Next, we’ll add a belly band to hold some fussy cuts and ephemera."
Wait. What?
If you feel like you walked into a conversation in a foreign language, don’t worry, you're not alone! Junk journaling does have its own unique vocabulary. But once you know the terms, you'll be following along with no problem.
This article may contain affiliate links. This means that I might earn a small commission if you make a purchase, at no extra cost to you.

If you've got questions about what it all means, here is your personal cheat sheet. I'll explain the most common terms. And before you know it, you'll be making signatures and fussy cutting like a pro.
Part 1: The Anatomy of the Book
Let’s start with the physical structure of the journal itself. You can choose from different types of books to make your journals. Some of the options include sketch books, journals or hand made books. No matter which type of book you use, the terms are the same:
Signature
Signatures are the building blocks of your book. A signature is a stack of papers (usually 4 to 10 sheets) folded in half. When you fold them, they create the pages of your book.
Most junk journals are made up of multiple signatures sewn into a cover. The smallest books might include only one signature. While bigger books can have 3 or more signatures.

The Spine
Just like a library book, the spine is the center part of the cover where your pages are attached.
Binding
Binding is the method used to keep your pages inside the cover. You might hear terms like "pamphlet stitch" (a simple 3-hole sewing method) or "hidden hinge" (where the sewing is hidden inside the spine).
Altered Book
While many junk journals are made from scratch, an altered book is a bit different. This is when you take an old hardcover book to use as your journal.
You can take out all the pages and add your own signatures. Or you can glue pages together and use them as a base for your journaling.
Part 2: Interactive Elements
One of the best parts of junk journaling is that the pages aren't just flat paper. We can add things to hold our memories, notes, or photos.
Making interactive elements is one of my favorite parts of junk journaling. These are the pieces that you can open, flip, slide and tuck little surprises into.
Belly Band
A belly band is a strip of paper, fabric, or lace that is glued only at the top and bottom (for a vertical belly band) or along the sides (for a horizontal belly band).
This creates a band across the page that you can slide items behind. Belly bands are a great spot to slide in photos, tags or journaling cards.
Tuck Spot
A tuck spot is any piece of paper glued down on only two sides. This creates a loose spot where you can "tuck" photos, ticket stubs, or other junk you've collected.
You can make a tuck spot out of nearly anything: a tag, a photo, or even a torn scrap of paper can become a place to tuck some bits and pieces into your journal.
Unlike a tuck spot, a pocket is usually glued on three sides to create a secure pouch for holding items. Pockets are great for storing tags and ephemera. They're also the perfect spot to hold any journaling that you'd like to keep private.
Flip or Flap
A flip or a flap is piece of paper attached to the page, usually with washi tape or a fabric hinge. The flap lifts up like a little door to reveal hidden writing space or a secret image underneath.
Part 3: The Junk and Decorations
I love junk! If you're anything like me, the junk might be the reason you started journaling in the first place. You can collect all kinds of junk, stuff like ticket stubs, brochures, or itineraries.
As well as your collected junk, you can buy stuff like stickers and washi tape to decorate your pages. Or you can buy digital paper and ephemera online, print them out and use them in your journals.
Here's the most common things you can add to your junk journals:
Ephemera
This is a fancy word for paper items. Historically, ephemera meant things with a short lifespan. Things like bus tickets, old receipts, postcards, or flyers.
In journaling, it refers to any paper bit used for decoration, whether it’s a vintage receipt from 1920 or a cute price tag from a new pair of jeans.
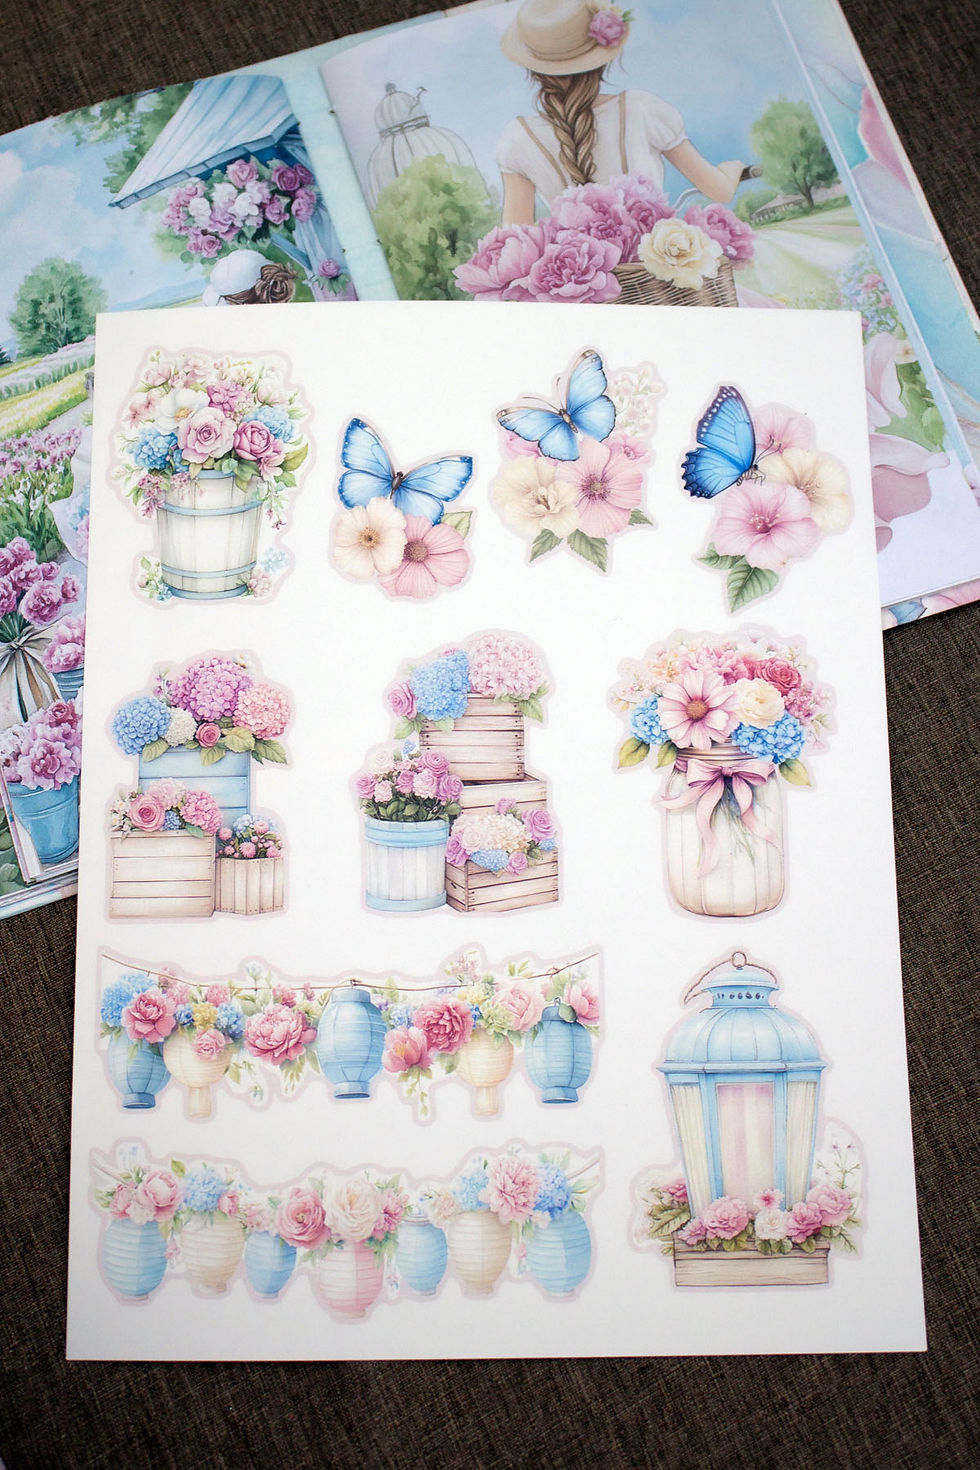
Fussy Cuts
If you buy digital kits, you will see pages full of fussy cuts. These are specific images, like a single flower, a butterfly, a vintage clock, or a bird. They are meant to be cut out and glued down as focal points on your page. Think of them as DIY stickers, just without the sticky back!
If you want to get creative with them, you can print them on different surfaces, like cardstock or vellum. You'll find that printing on different types of paper will give you different results. These can be lots of fun to experiment with!
Tags and Journaling Cards
Tags and journaling cards are sturdy pieces of cardstock that you slide into your pockets and tuck spots. They usually have a pretty image on the front and blank space on the back for you to write your thoughts.
Master board
This is a great way to use up your scraps! A master board is a big sheet of paper that you cover in a collage of messy scraps. Once it's dry, you cut the large sheet up into smaller pieces to make your own unique tags and pockets.
Lots of people keep a sheet of paper on their crafting table while they journal. As you have little scraps, you just add them to your master board. Over time you'll create a varied and wonderful master board to use in other projects.

Part 4: Techniques
Finally, here are a few actions you might hear mentioned. These are the different techniques you can use when you're working on your junk journals.
Fussy Cutting
This is the action of cutting out those fussy cuts I mentioned earlier. You'll cut carefully around the edge of an image using small, sharp scissors. Many fussy cuts include a pale outline to help you cut neatly.
Distressing or Inking
This involves using an ink pad and a sponge dabber to darken the cut edges of your paper. It gets rid of the stark white edge of the paper and helps make your layouts look cohesive.
Depending on the color of your ink, it can also make everything look aged, or vintage. If you use a brighter color of ink, it will make your pieces stand out. Some of my favorite ink pads are the Tim Holz Distress Ink in Antique Linen for vintage pages, or Worn Lipstick for brighter pages.
Coffee or Tea Dyeing
This is exactly what it sounds like! You can soak plain printer paper in coffee or tea, then bake it in the oven. It gives the paper a beautiful brown stain and a wonderful, crispy crinkle sound when you turn the page.
Getting Started
As you dive deeper into the world of junk journaling, you might come across more terms. But these are the biggest ones that we use when we talk about junk journaling.
Now that you're ready to get started, remember that there are no rules in junk journaling. These terms are just tools to help you learn. So grab whatever book you've got and start journaling all that junk!
Looking for printable infographics? Get them all in my new digital handbook Fun With Paper: A Complete Guide to Junk Journaling.


Comments